

LAMP is an archetypal model of web service solution stacks, named as an acronym of the names of its original four components: the Linux operating system, the Apache HTTP Server, the MySQL relational database management system (RDBMS), and the PHP programming language. As a solution stack, LAMP is suitable for building dynamic web sites and web applications to increase the ability of the server to scale in response to demand.
In this tutorial I will also include, on how to install and securely configure phpMyAdmin instance—that handle the administration of MySQL over the Web.
Getting Started
I will be installing the required packages on Ubuntu 14.04 LTS (Trusty Tahr). In addition, I’ve had great success on using Digital Ocean‘s and Linode‘s Virtual Private Server, they are easy to use and can typically be setup in 55 seconds. I will assume you have your server all setup, and you are ready to begin at the command line, so lets get started.
Install Apache
The Apache HTTP Server Project is an effort to develop and maintain an open-source HTTP server for modern operating systems including UNIX and Windows. The goal of this project is to provide a secure, efficient and extensible server that provides HTTP services in sync with the current HTTP standards.
First lets make sure our server is all up-to-date. Enter the following command in your terminal:
sudo apt-get updateNow, install Apache using this command:
sudo apt-get install apache2Start Apache service using the command:
sudo service apache2 startTest Apache
Open up your web browser and navigate to http://127.0.0.1 or http://localhost. You will see a screen something like below.

Install MySQL
MySQL is a relational database management system (RDBMS) that runs as a server providing multi-user access to a number of databases.
sudo apt-get install mysql-server-5.6 mysql-client-5.6During installation, you’ll be asked to setup the MySQL root user password. Enter the password and select Ok.
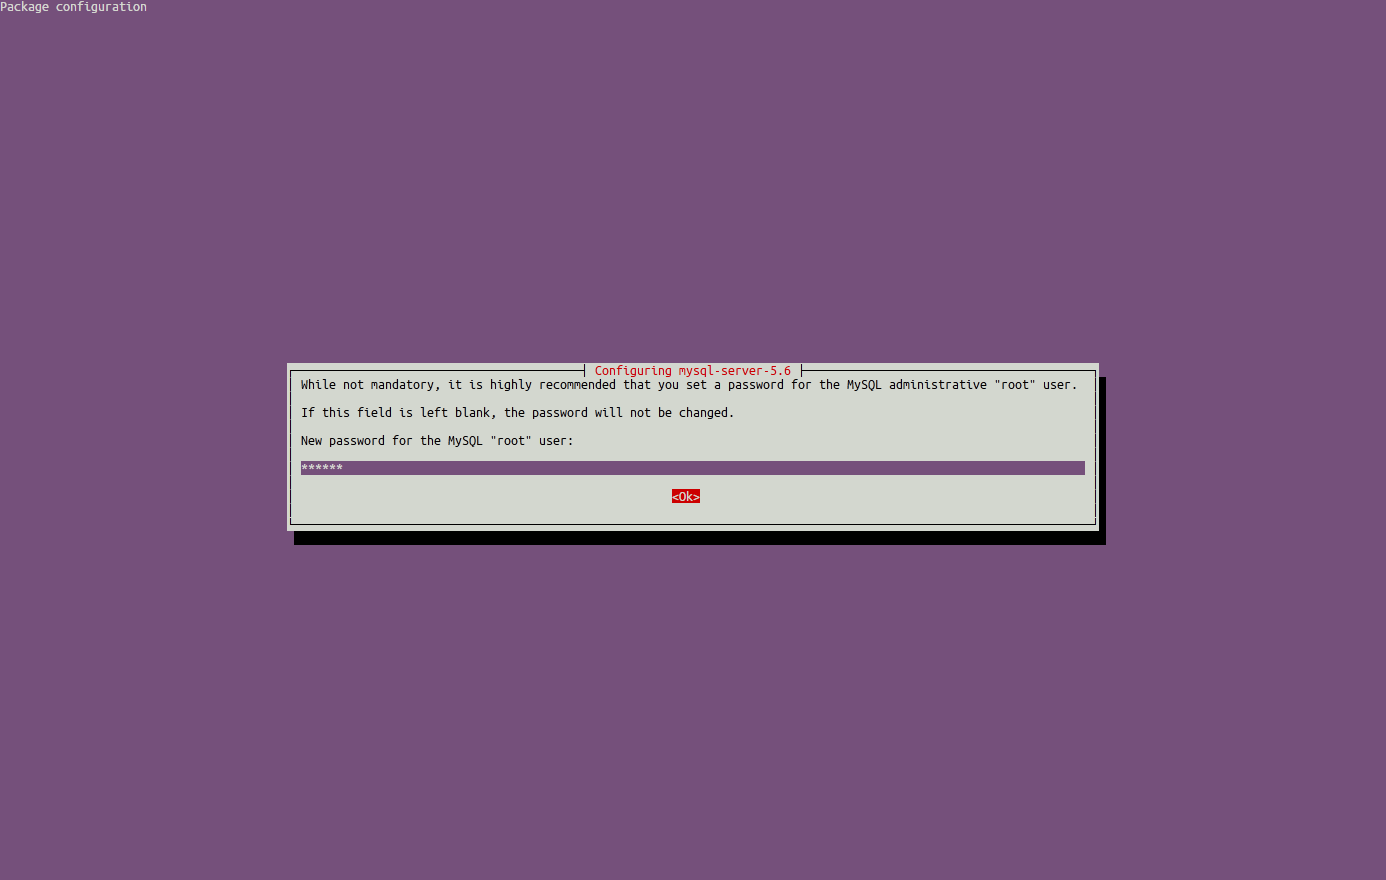
Re-enter the password.

MySQL is now installed. You can verify the MySQL server status using command:
sudo service mysql statusSample output:
mysql start/running, process 980Configure MySQL, we need to tell MySQL to generate the directory structure it needs to store its databases and information. We can do this by using this command:
sudo mysql_install_dbNext, you’ll have to run a simple security script that will prompt you to modify some insecure defaults in the terminal. Begin the script by using this command:
sudo mysql_secure_installationYou will need to enter the MySQL root password that you selected during installation.
Next, you will be ask if you want to change that password. If you are happy with your MySQL root password, type N for no and hit ENTER. Afterwards, you will be prompted to remove some test users and databases. You should just hit ENTER through these prompts to remove the unsafe default settings. Once the script has been run, MySQL is ready to go.
Install PHP
PHP (recursive acronym for PHP: Hypertext Preprocessor) is a widely used open-source general purpose scripting language that is especially suited for web development and can be embedded into HTML.
Install PHP with following command:
sudo apt-get install php5 libapache2-mod-php5 php5-mcryptInstall PHP MySQL library with the following command:
For MySQL version 5.5 and below.
sudo apt-get install php5-mysqlFor MySQL version 5.6.
sudo apt-get install php5-mysqlndNow we’ll modify the way that Apache serves files when a directory is requested. Currently, if a user requests a directory from the server, Apache will first look for a file called index.html. We want to tell our web server to prioritize PHP files, so we’ll make Apache look for an index.php file first.
To do this, use the following command to open the dir.conf file in the terminal:
sudo nano /etc/apache2/mods-enabled/dir.confThe file content will look like this:
<IfModule mod_dir.c>
    DirectoryIndex index.html index.cgi index.pl index.php index.xhtml index.htm
</IfModule>Now, we want to move the PHP index file highlighted above to the first position after the DirectoryIndex, the modified file will be look like this:
<IfModule mod_dir.c>
    DirectoryIndex index.php index.html index.cgi index.pl index.xhtml index.htm
</IfModule>Save and close the file.
After this, we need to restart the Apache web server in order for our changes to be recognized. You can do this by using this command:
sudo service apache2 restartLet’s test PHP, now create the following PHP file in the apache document root folder /var/www/html/:
sudo nano /var/www/html/info.phpAdd the following lines in the file.
<? phpinfo();Save and close the file.
Navigate to http://server-ip-address/info.php. It will display all the details about PHP such as version, modules, build date and commands, etc.
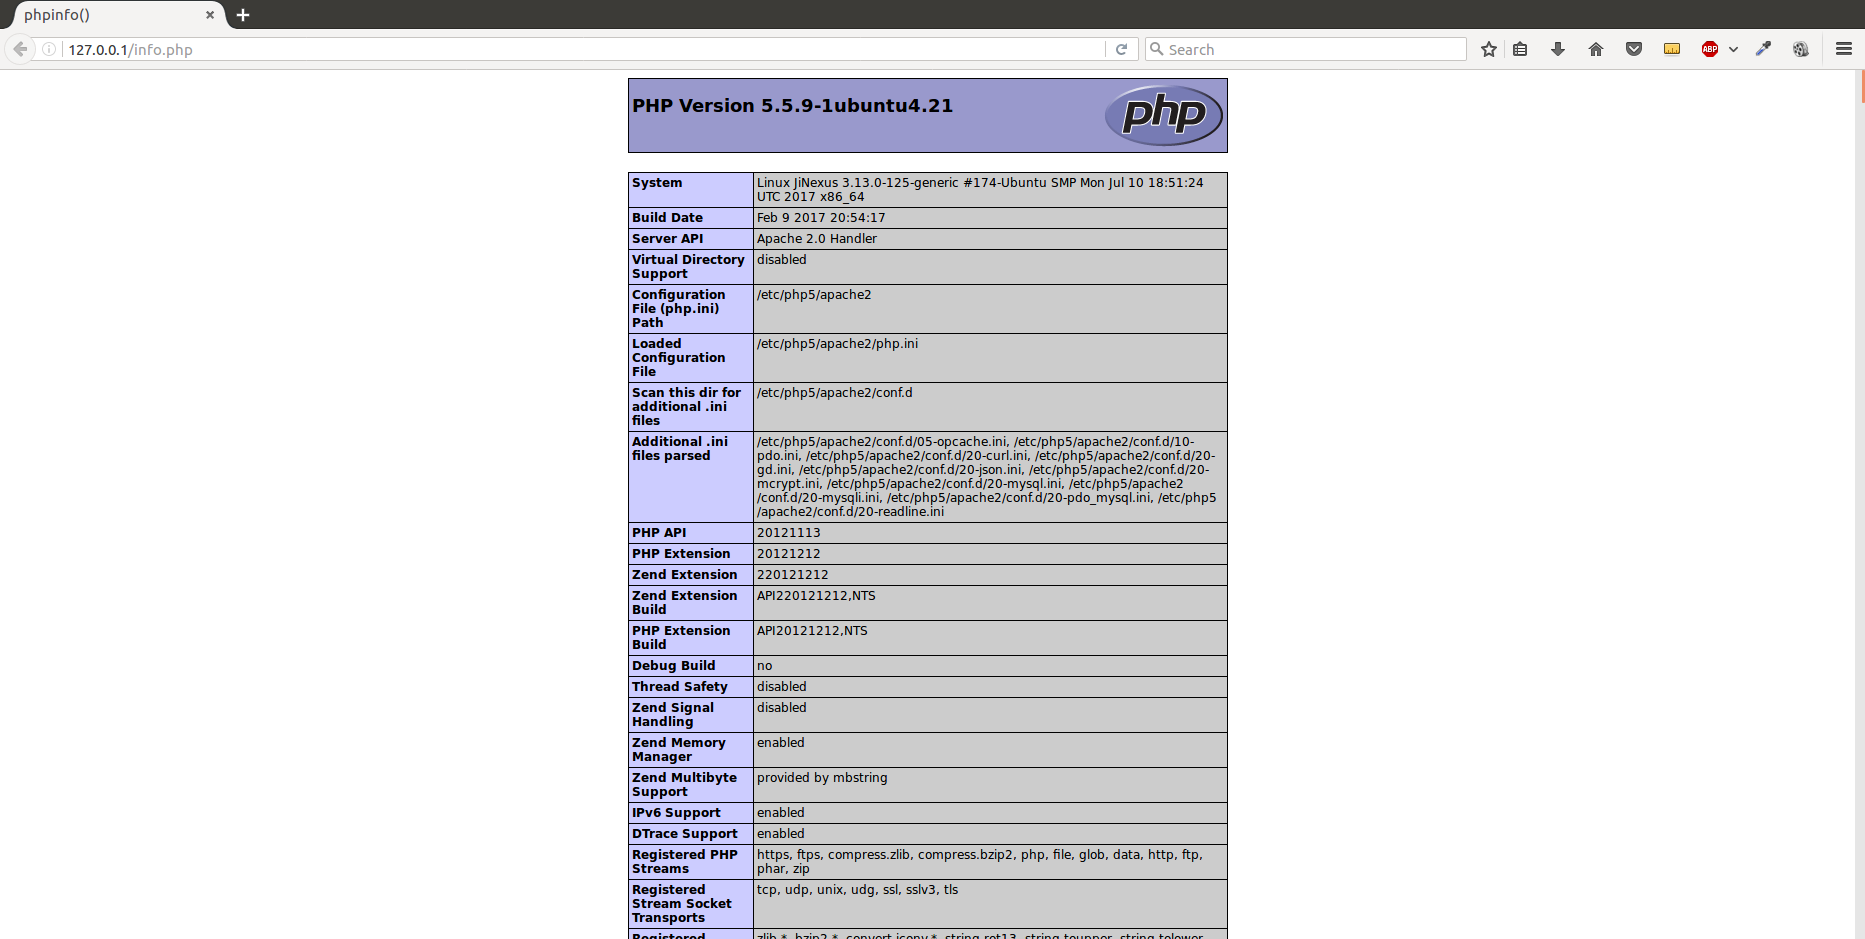
If this was successful, then your PHP is working as expected.
Install phpMyAdmin
phpMyAdmin is a free and open source tool written in PHP intended to handle the administration of MySQL with the use of a web browser. It can perform various tasks such as creating, modifying or deleting databases, tables, fields or rows; executing SQL statements; or managing users and permissions.
It is available in the Official Debian repositories. So install it with command:
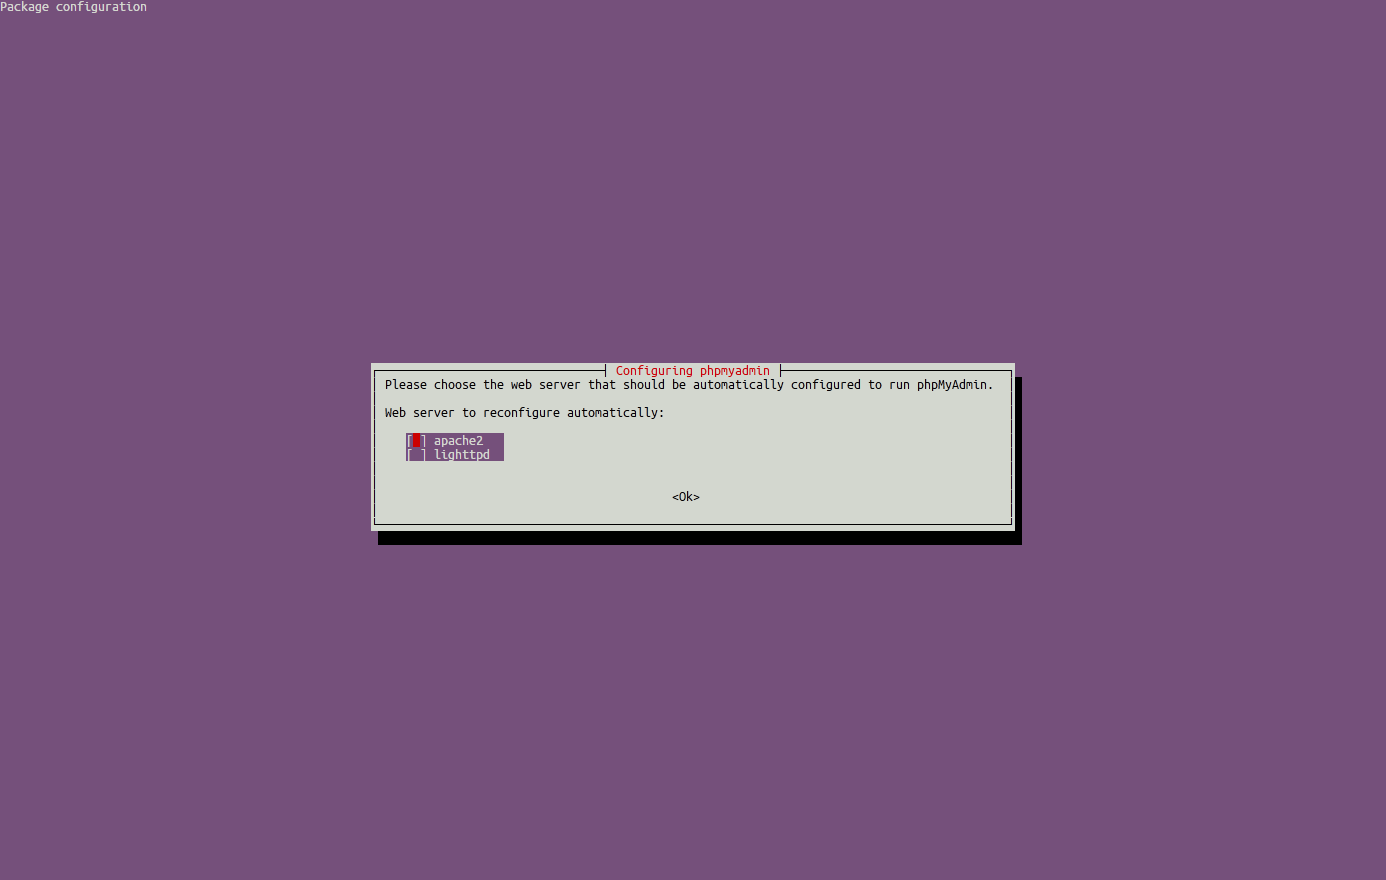
sudo apt-get install phpmyadminSelect the Web server that should be automatically configured to run phpMyAdmin. In my case, it is apache2.
Note: When the first prompt appears, apache2 is highlighted, but not selected. If you do not hit SPACE to select apache2, the installer will not move the necessary files during installation. Hit SPACE, TAB, and then ENTER to select apache2.
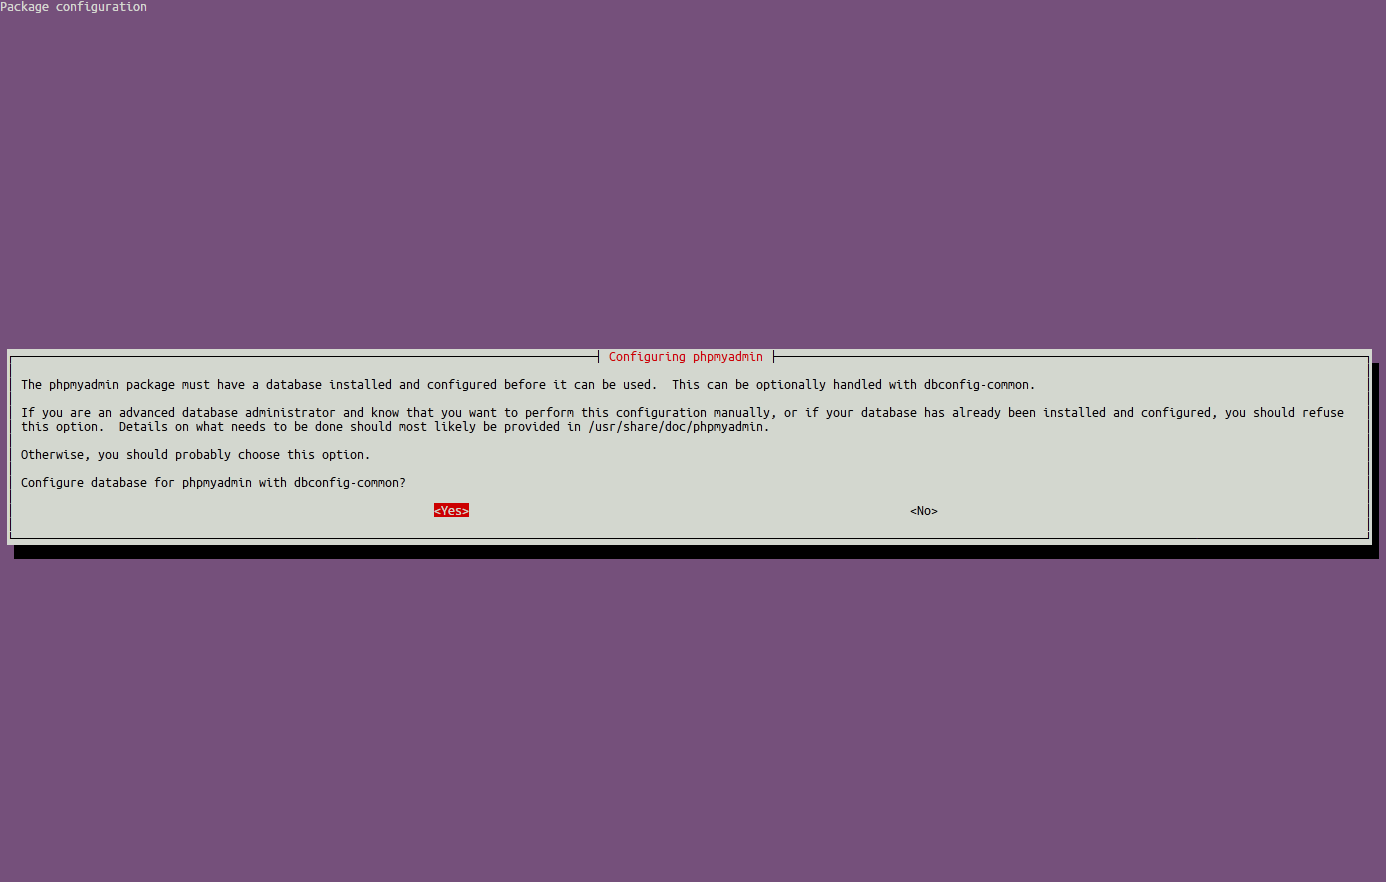
Select Yes to configure database for phpMyAdmin with dbconfig-common.
Enter password of the database’s administrative user (i.e MySQL root user password).
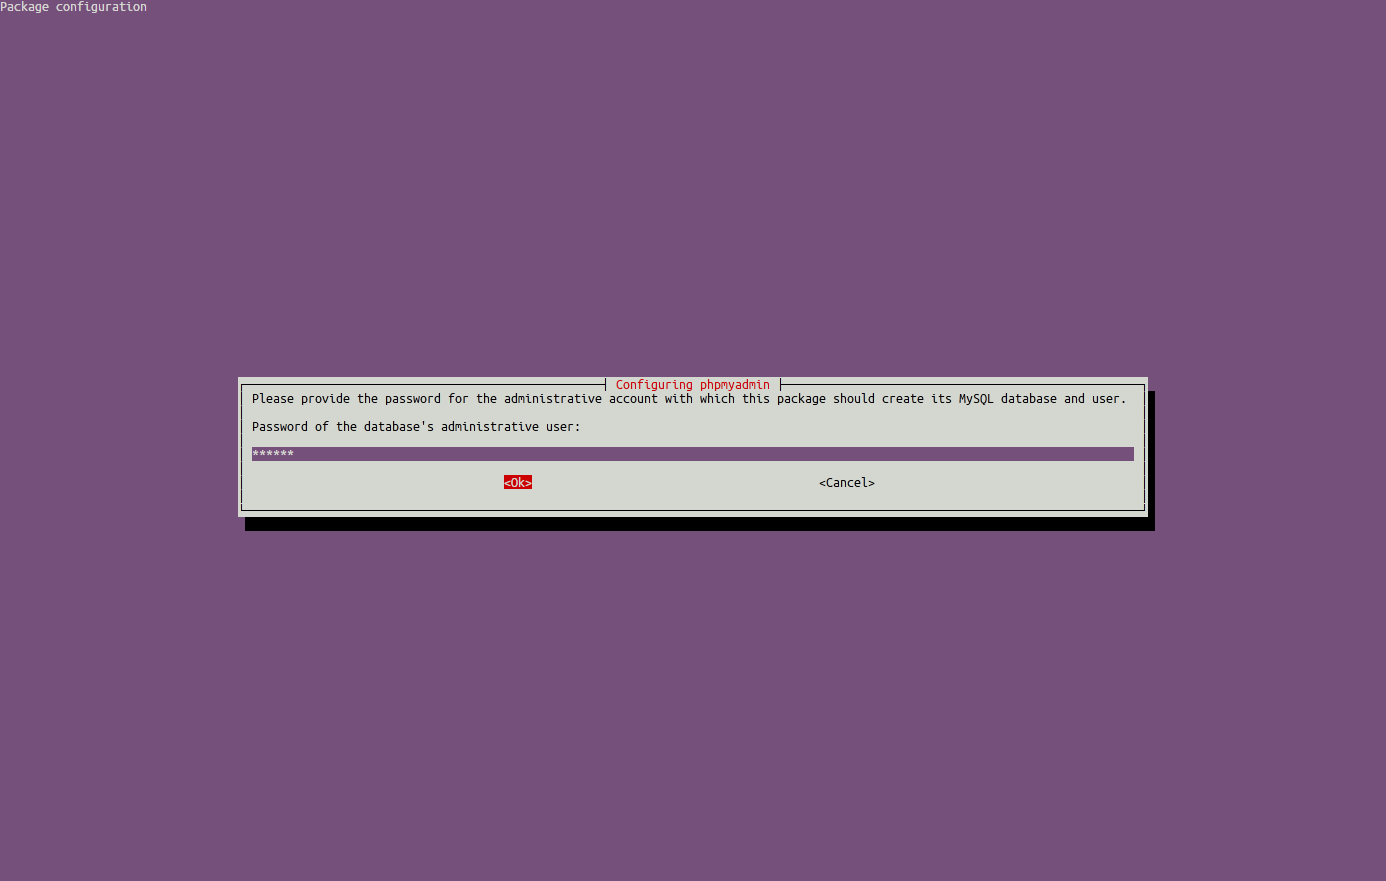
Enter MySQL application password for phpMyAdmin.
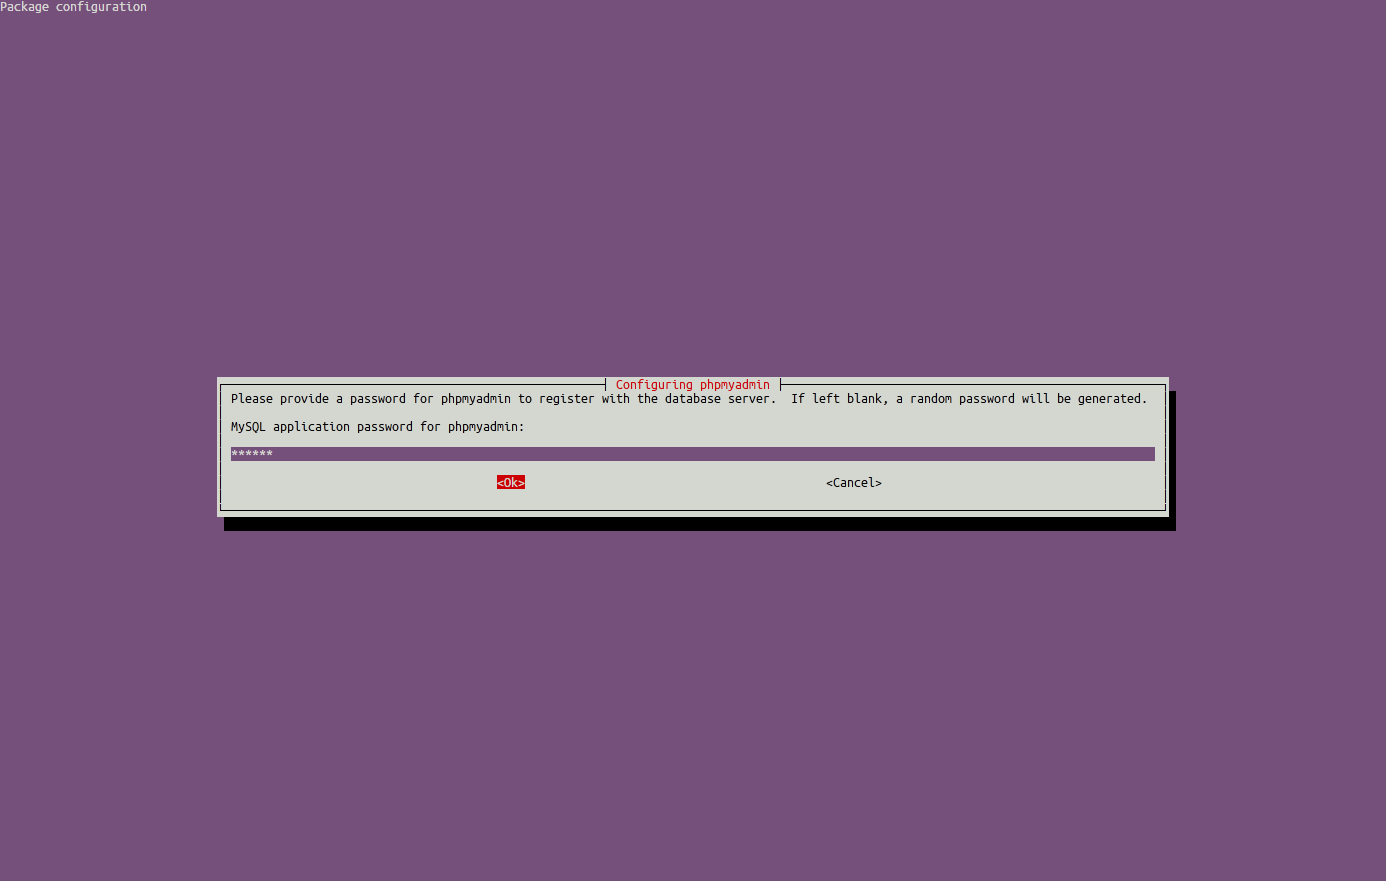
Re-enter the password.
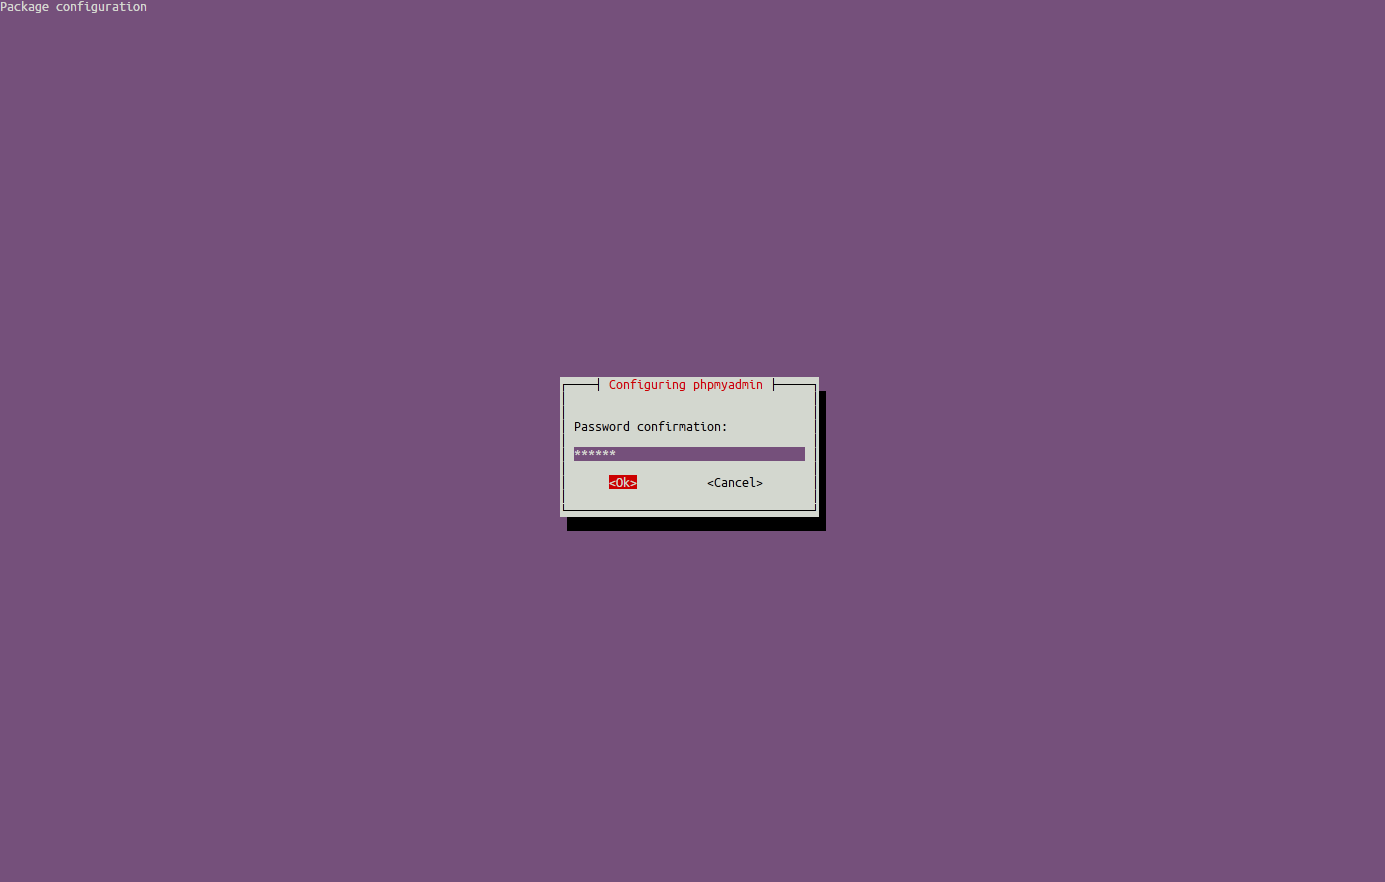
The installation process actually adds the phpMyAdmin Apache configuration file into the /etc/apache2/conf-enabled/ directory, where it is automatically read.
The only thing we need to do is explicitly enable the php5-mcrypt extension, which we can do by typing:
sudo php5enmod mcryptRestart apache server.
sudo service apache2 restartphpMyAdmin has been successfully installed now.
Now you can access the phpMyAdmin console by navigating to http://server-ip-address/phpmyadmin from your browser.
Enter your MySQL username and password which you have given in previous steps.
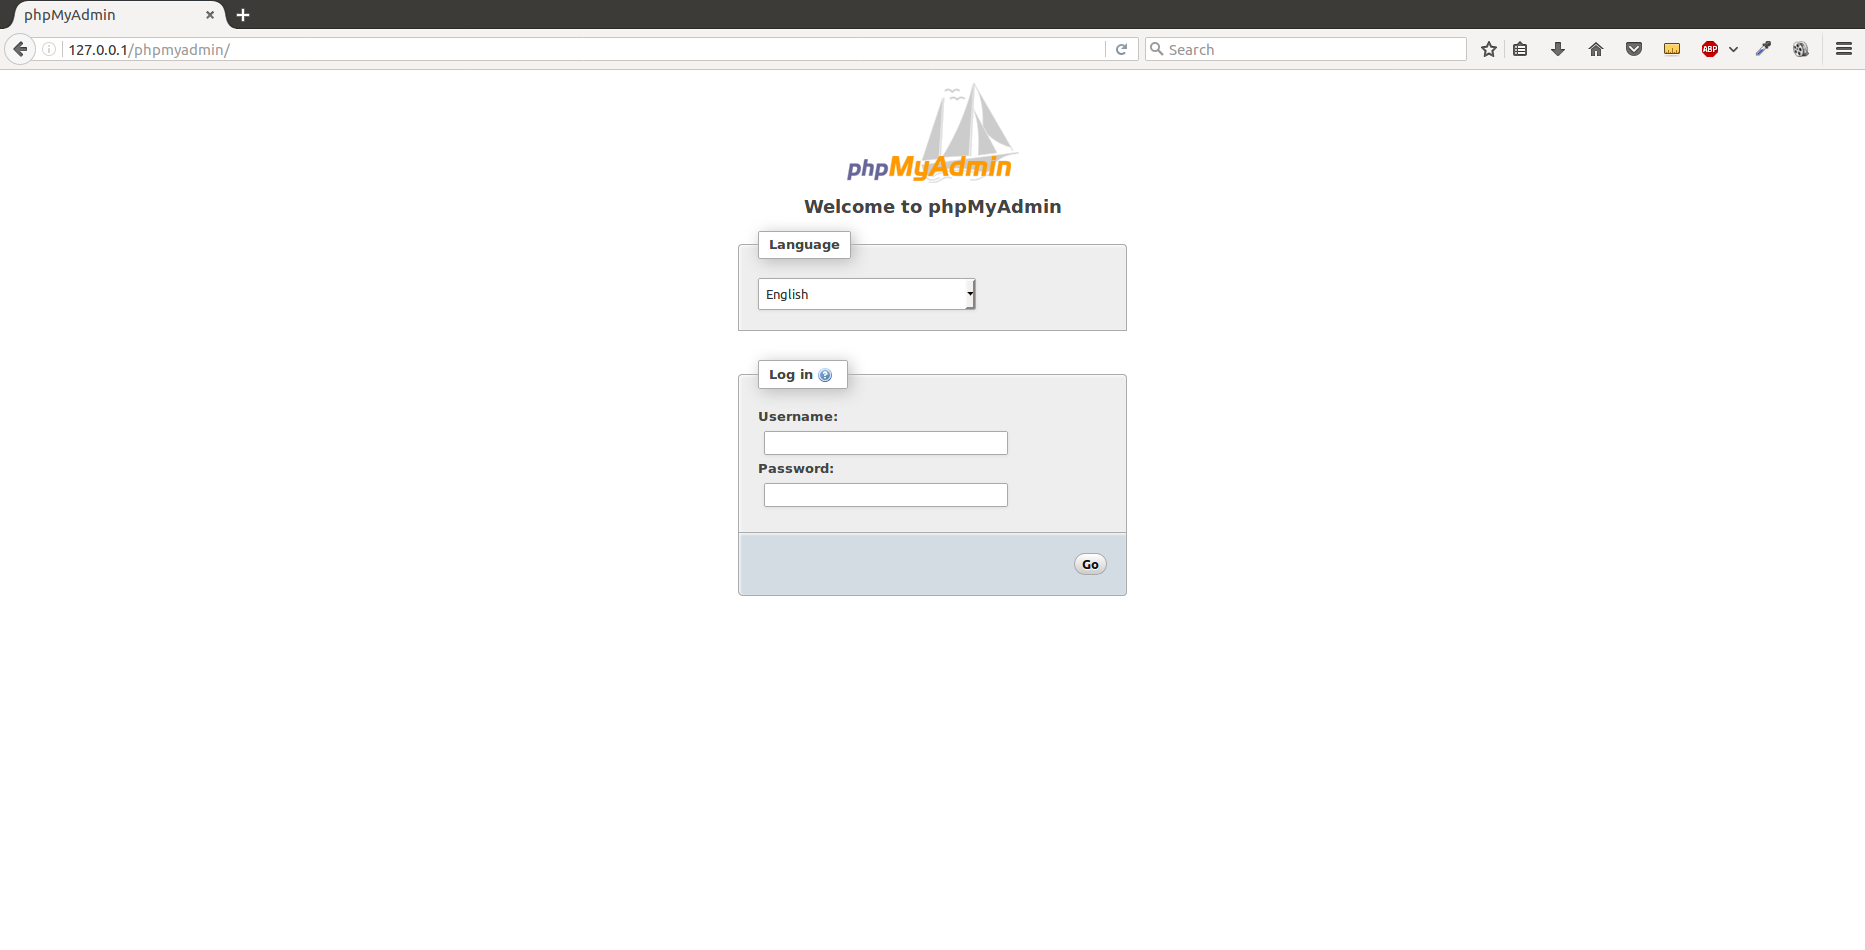
You will be redirected to phpMyAdmin main web interface. This is how my phpMyAdmin dashboard looks.
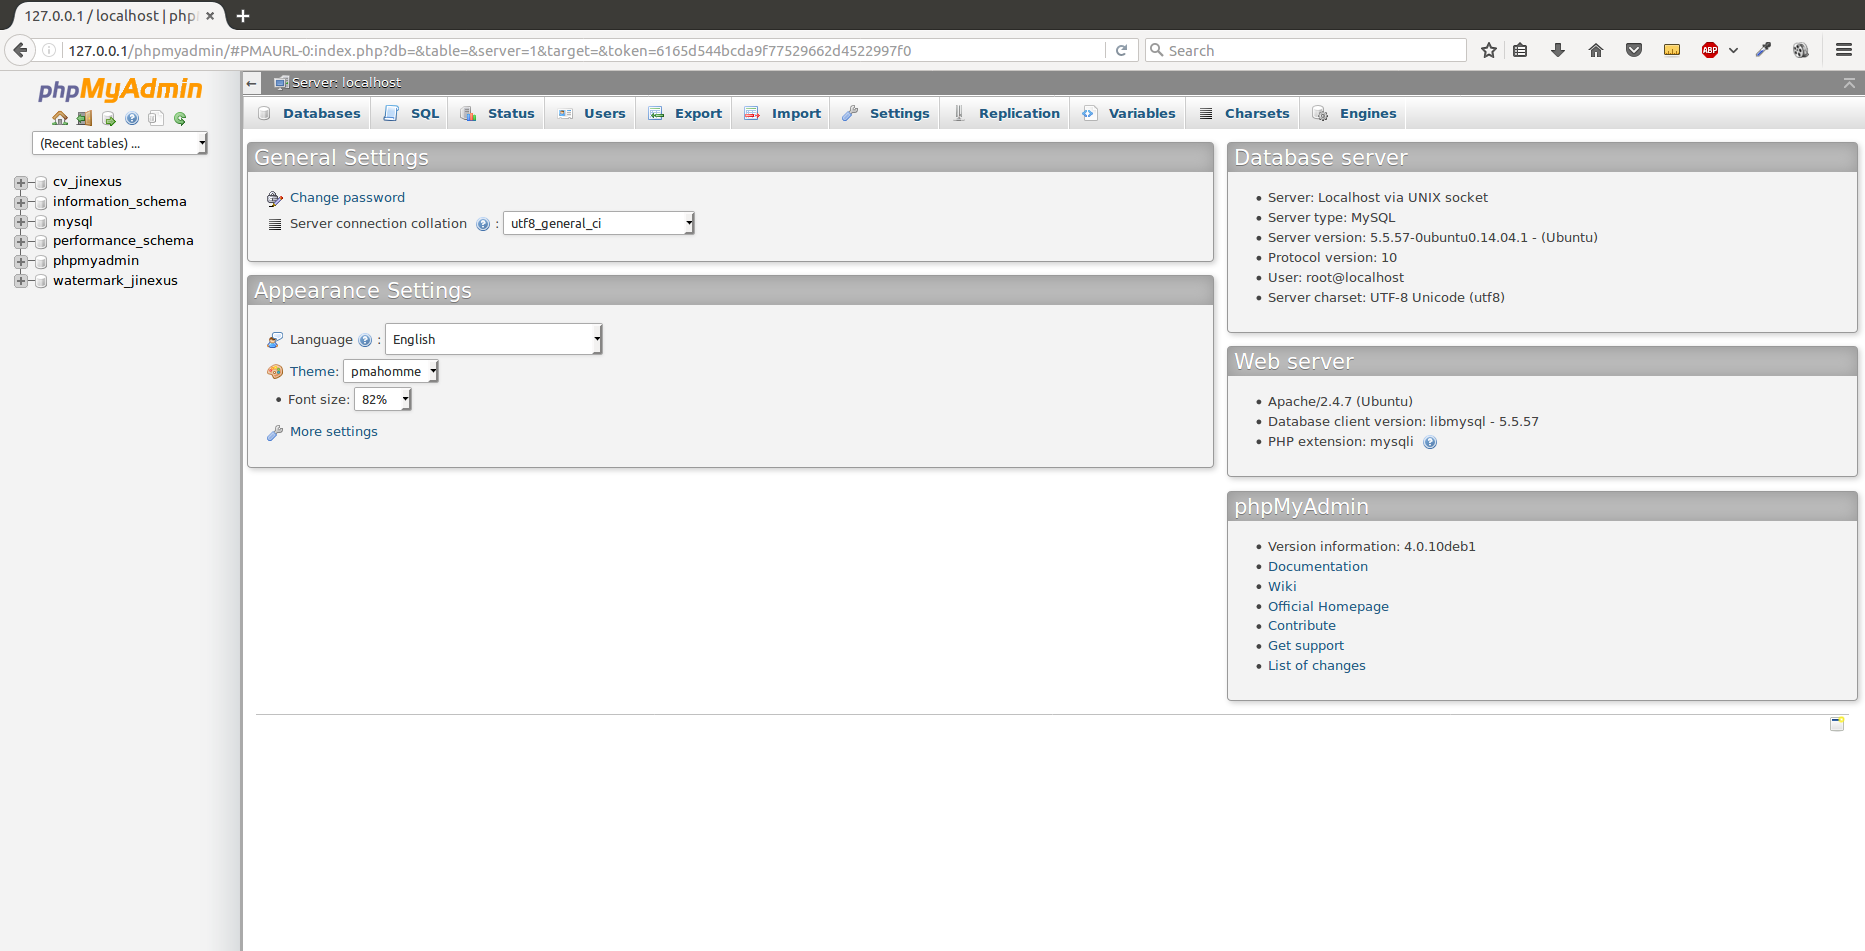
Now you can manage your MySQL databases from phpMyAdmin web interface.
With that, your phpMyAdmin installation is now operational.
Secure your phpMyAdmin Web Console
The phpMyAdmin web console installed on our server should be completely usable at this point. However, by installing a web interface, we have exposed our MySQL system to the outside world.
Even with the included authentication screen, this is quite a problem. Because of phpMyAdmin’s popularity combined with the large amount of data it provides access to, installations like these are common targets for attackers.
We will implement a simple strategy that I commonly use to lessen the chances of our installation being targeted and compromised. We will create an additional, web server-level authentication gateway that must be passed before even getting to the phpMyAdmin login screen.
Setting up a Web Server Authentication Gate
First, we need to enable the use of .htaccess file overrides by editing our Apache configuration file. We will edit the linked file that has been placed in our Apache configuration directory:
sudo nano /etc/apache2/conf-available/phpmyadmin.confWe need to add an AllowOverride All directive within the section of the configuration file, the file would look like this:
[…]
    Options FollowSymLinks
    DirectoryIndex index.php
    AllowOverride All
[…]To implement the changes you made, restart Apache:
sudo service apache2 restartNow that we have enabled .htaccess use for our application, we need to create one to actually implement some security.
In order for this to be successful, the file must be created within the application directory. We can create the necessary file and open it in our text editor with root privileges by using this command:
sudo nano /usr/share/phpmyadmin/.htaccessWithin this file, we need to enter the following information:
AuthType Basic
AuthName "Restricted Area! Authorized Penguin Only"
AuthUserFile /etc/phpmyadmin/.htpasswd
Require valid-userWhen you are finished, save and close the file.
Quick Explanation:
- AuthType: This refers to the type of authentication that will be used to the check the passwords.
- AuthName: This is a text that will be displayed at authentication dialog box. You can put anything here.
- AuthUserFile: This sets the location of the password file that will be used for authentication which we will create in the next step.
- Require valid-user: This specifies that only authenticated users that we defined in the password file should be given access to this resource.
Now that we have specified a location for our password file through the use of the AuthUserFile directive within our .htaccess file, we need to create this file.
We actually need an additional package to complete this process. We can install it from our default repositories:
sudo apt-get install apache2-utilsAfterward, we will have the htpasswd utility available.
The location that we selected for the password file was /etc/phpmyadmin/.htpasswd. Let’s create this file and pass it an initial user by using the following command:
sudo htpasswd -c /etc/phpmyadmin/.htpasswd demoWe are going to name our user demo, but you should choose a different username. You will be prompted to select and confirm a password for the user you are creating. Afterwards, the file is created with the hashed password that you entered.
The content of this file will look like this:
demo:$apr1$OGKzMOnX$7TFizV21lxW7oIUJZ/vjw0If you want to enter an additional user, you need to do so without the -c flag, like this:
sudo htpasswd /etc/phpmyadmin/.htpasswd additionalUserTo implement our new authentication gate, we must restart the web server:
sudo service apache2 restartNow, if we visit our phpMyAdmin location in our web browser (you may have to clear your cache or use a different browser session if you have already been using phpMyAdmin), you should be prompted for the User Name and Password you added to the .htpasswd file:
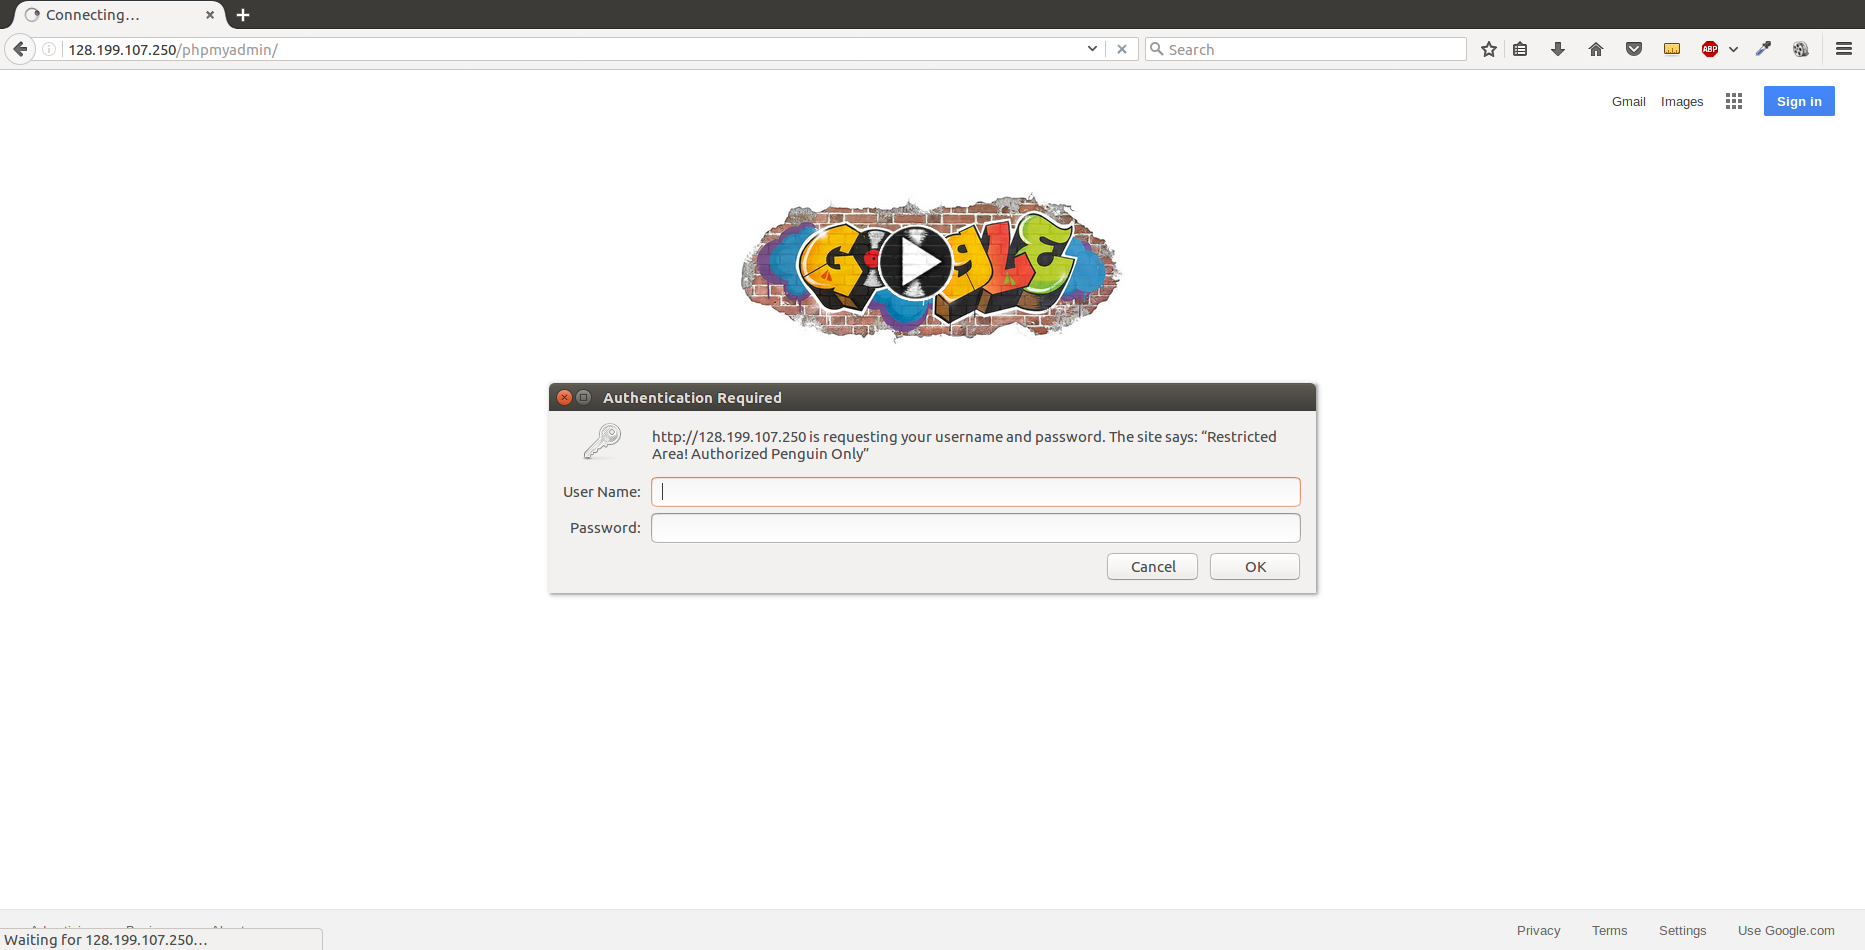
Once you enter your correct credentials, you will be taken to the default phpMyAdmin login page. This added layer of protection will help keep your MySQL logs clean of authentication attempts in addition to the added security benefit.
That’s it! Congratulation your LAMP Stack server is ready for use.
