

Want to play Minecraft Bedrock Edition with friends without relying on a paid hosting service? Running your own server on an Ubuntu machine gives you full control over the world, the settings, and who gets to join — and it’s cheaper than you’d think. This guide walks you through everything from installation to keeping the server alive 24/7 with automatic restarts and backups.
I specifically went with Bedrock Edition (rather than Java) for its cross-platform compatibility — it lets my friends and I all play together regardless of what we’re on, whether that’s PC, mobile, Xbox, or Switch. A single Bedrock server supports all of them at once, which makes it the easier choice for a mixed-device friend group.
Where to Run This: Affordable VPS Options
You don’t need a beefy home server to follow this guide — a small, affordable Virtual Private Server (VPS) is more than enough for a handful of friends. Two popular options:
- Amazon Lightsail — AWS’s simplified VPS product, with predictable flat monthly pricing (no surprise EC2 bills) and Ubuntu images ready to go. This is what I use for my own server.
- DigitalOcean Droplets — another solid, budget-friendly option with a similarly simple setup process and clean dashboard.
Either one gives you a fresh Ubuntu instance in a few minutes, and their cheapest tiers (roughly $5–10/month) comfortably meet the CPU, RAM, and storage requirements below. Once your instance is up, SSH into it and everything from here works exactly the same as it would on a home machine — the one extra step is opening the gameplay port at the cloud firewall / security group level, covered in Step 5.
Using Amazon Lightsail? When creating your instance, choose an Ubuntu blueprint, and make sure to attach a static IP to it (Lightsail calls this a “static IP” in the networking tab) so your server’s address doesn’t change on reboot — otherwise your friends will need a new IP every time it restarts.
Prerequisites
Before you start, make sure you have:
- OS: Ubuntu 20.04+ (Debian and other modern Linux distros work too, x86_64 only)
- A user account with sudo privileges
- A static IP (so friends can reliably reconnect)
- CPU: 2 vCPUs
- RAM: 2 GB minimum
- Storage: ~20 GB for the server, plus room for world data
- Network: enough bandwidth allowance for regular play (2 TB/month is comfortable)
- Open ports:
- 19132/UDP — gameplay (IPv4)
- 19133/UDP — gameplay (IPv6)
Step 1: Create a Server Directory
Keep things tidy by giving the server its own home:
mkdir -p ~/minecraft/bedrock-server
cd ~/minecraft/bedrock-serverStep 2: Download the Bedrock Dedicated Server
Go to the official download page in your browser:
👉 https://www.minecraft.net/en-us/download/server/bedrock
Right-click the Linux download button and copy the link — the version number changes with every release, so don’t rely on an old URL. Then download it on your server:
wget https://www.minecraft.net/bedrockdedicatedserver/bin-linux/bedrock-server-<version>.zipReplace <version> with whatever the site gives you at the time — Mojang updates this frequently, and old links stop working.
Unzip and make the binary executable:
unzip bedrock-server-<version>.zip
chmod +x bedrock_serverIf unzip isn’t installed:
sudo apt install unzipStep 3: Configure server.properties
Open the config file:
nano server.propertiesAdjust the key settings to fit your world:
server-name=MyServerName
gamemode=survival
difficulty=easy
allow-cheats=false
max-players=10
level-name=Yggdrasil
level-seed=20241207Step 4: Open the Firewall
If UFW is active on the box:
sudo ufw allow 19132/udpStep 5: Check Cloud Firewall / Security Group Rules
If you’re on AWS, Lightsail, or a similar cloud provider, local firewall rules aren’t enough — you also need an inbound rule at the network level:
| Type | Protocol | Port Range | Source |
| Custom UDP | UDP | 19132 | Your static IP, or 0.0.0.0/0 for open access |
Locking the source down to specific IPs is safer if you’re only playing with a known group of friends.
Step 6: Start the Server
LD_LIBRARY_PATH=. ./bedrock_serverYou should see a line confirming the server has started. At this point you can connect from Minecraft Bedrock using your server’s IP address.
Step 7: Keep It Running with screen
Running the server in your terminal means it dies the moment you close the SSH session. screen solves that by letting the process run in a detachable background session.
sudo apt install screen
screen -S minecraft-bedrockInside the new screen session:
LD_LIBRARY_PATH=. ./bedrock_serverDetach without stopping it: Ctrl+A, then Ctrl+D
Reattach later:
screen -r minecraft-bedrockStep 8: Lock It Down — Whitelist & Anti-Cheat
If you only want specific people joining, enable the allowlist. Edit server.properties:
allow-list=true(This restricts connections to players listed in allowlist.json. Values: true or false.)
Then create allowlist.json in the same directory:
[
  {
    "name": "YourFriendName",
    "xuid": "1234567890123456"
  }
]To find a player’s XUID, use a free converter tool such as cxkes.me/xbox/xuid.
A few more security tips:
- Set online-mode=true so players are authenticated through Xbox Live.
- If it’s a private group, restrict inbound traffic to specific IPs at the firewall level rather than opening the port to everyone.
- Leave allow-cheats=false unless you have a specific reason to enable it.
Step 9: Automate Backups
World corruption and accidental griefing happen — regular backups save you from starting over. Create a backup script:
nano ~/minecraft/bedrock-world-backup.sh#!/bin/bash
TIMESTAMP=$(date +"%Y-%m-%d_%H-%M-%S")
BACKUP_DIR="$HOME/minecraft/bedrock-world-backups"
WORLD_DIR="$HOME/minecraft/bedrock-server/worlds"
mkdir -p "$BACKUP_DIR"
zip -r "$BACKUP_DIR/bedrock_world_backup_$TIMESTAMP.zip" "$WORLD_DIR"
echo "Backup created at $BACKUP_DIR/bedrock_world_backup_$TIMESTAMP.zip"
# Keep only the last 7 days of backups
find "$BACKUP_DIR" -type f -name "*.zip" -mtime +7 -deleteMake it executable:
chmod +x ~/minecraft/bedrock-world-backup.shStep 10: Schedule Backups with Cron
crontab -eAdd a line to run the backup every day at 3 AM (swap ubuntu for your actual username):
0 3 * * * /home/ubuntu/minecraft/bedrock-world-backup.sh >> /home/ubuntu/minecraft/bedrock-world-backup.log 2>&1The rotation logic (-mtime +7 -delete) is already built into the backup script above, so old backups clean themselves up automatically.
Step 11: Auto-Restart on Crash
Server processes occasionally crash. Wrap the launch command in a loop so it restarts itself automatically:
nano ~/minecraft/bedrock-server-start.sh#!/bin/bash
while true; do
echo "Starting Minecraft Bedrock server..."
LD_LIBRARY_PATH=. ./bedrock_server
echo "Server crashed/stopped. Restarting in 5 seconds..."
sleep 5
donechmod +x ~/minecraft/bedrock-server-start.shRun it inside a screen session so it survives logout:
screen -S minecraft-bedrock ~/minecraft/bedrock-server-start.shNow the server restarts itself automatically whenever it crashes or is killed — no manual intervention needed.
Step 12: The Production-Ready Option — systemd
If you want the server to start on boot, restart on failure, and be managed with standard Linux tooling instead of screen, set it up as a systemd service.
Directory layout:
/home/ubuntu/minecraft/
├── bedrock-server-start.sh
└── bedrock-server/
    ├── bedrock_server
└── ... (other Bedrock files)Update the start script to cd into the server directory first:
#!/bin/bash
while true; do
  echo "Starting Minecraft Bedrock Server..."
  cd "$(dirname "$0")/bedrock-server" || exit 1
  LD_LIBRARY_PATH=. ./bedrock_server
  echo "Minecraft Bedrock Server crashed/stopped. Restarting in 5 seconds..."
  sleep 5
donechmod +x /home/ubuntu/minecraft/bedrock-server-start.shCreate the service file:
sudo nano /etc/systemd/system/minecraft-bedrock-server.service[Unit]
Description=Minecraft Bedrock Server
After=network.target
[Service]
User=ubuntu
WorkingDirectory=/home/ubuntu/minecraft
ExecStart=/home/ubuntu/minecraft/bedrock-server-start.sh
Restart=always
RestartSec=10
Nice=5
LimitNOFILE=4096
[Install]
WantedBy=multi-user.targetReload systemd and enable the service:
sudo systemctl daemon-reload
sudo systemctl enable minecraft-bedrock-server.service
sudo systemctl start minecraft-bedrock-server.serviceCheck that it’s running:
sudo systemctl status minecraft-bedrock-server.serviceWhy this beats screen: the server now starts automatically on boot, restarts itself if it crashes, and you manage it with standard commands (systemctl start/stop/restart/status) instead of juggling terminal sessions.
Step 13: Point a Domain to Your Server (Optional)
Sharing a raw IP address with friends works fine, but it’s easy to forget and annoying to type. If you own a domain, you can set up a subdomain like minecraft.example.com to point to your server’s static IP instead — much easier to remember and share.
Add an A Record
You need an A record (not CNAME, since you’re pointing to an IP address, not another domain) at wherever your domain’s DNS is managed — your registrar (Namecheap, GoDaddy, Cloudflare, etc.) or, if you’ve delegated DNS to Lightsail, the Lightsail DNS zone.
| Type | Host/Name | Value | TTL |
| A | minecraft | <your static IP> | 300 (or default) |
The minecraft in the Host field is what makes it minecraft.example.com — your DNS provider automatically appends your root domain.
Option A: Using Lightsail’s Built-in DNS
If you’re hosting on Lightsail and haven’t delegated DNS elsewhere, this is the simplest path:
- In the Lightsail console, go to Networking → Create DNS zone, pointing it at your domain (e.g. example.com)
- Once the zone exists, add a record: A record, subdomain minecraft, value = your static IP
- Lightsail will give you 4 nameservers — set these at your domain registrar so it actually uses Lightsail’s DNS
Lightsail will give you 4 nameservers — set these at your domain registrar so it actually uses Lightsail’s DNS
Option B: Using Your Registrar’s DNS (most common)
If you manage DNS at your registrar (Namecheap, GoDaddy, etc.) or Cloudflare:
- Log into your registrar/DNS provider’s dashboard
- Find DNS settings / DNS Zone Editor
- Add a new A record: Type A, Name/Host minecraft, Value = your static IP, TTL = default
- Save
Verify It Worked
DNS propagation usually takes a few minutes to a couple hours (rarely up to 48h). Check with:
dig minecraft.example.com +shortor:
nslookup minecraft.example.comBoth should return your server’s static IP once propagated.
One Important thing to note for Bedrock
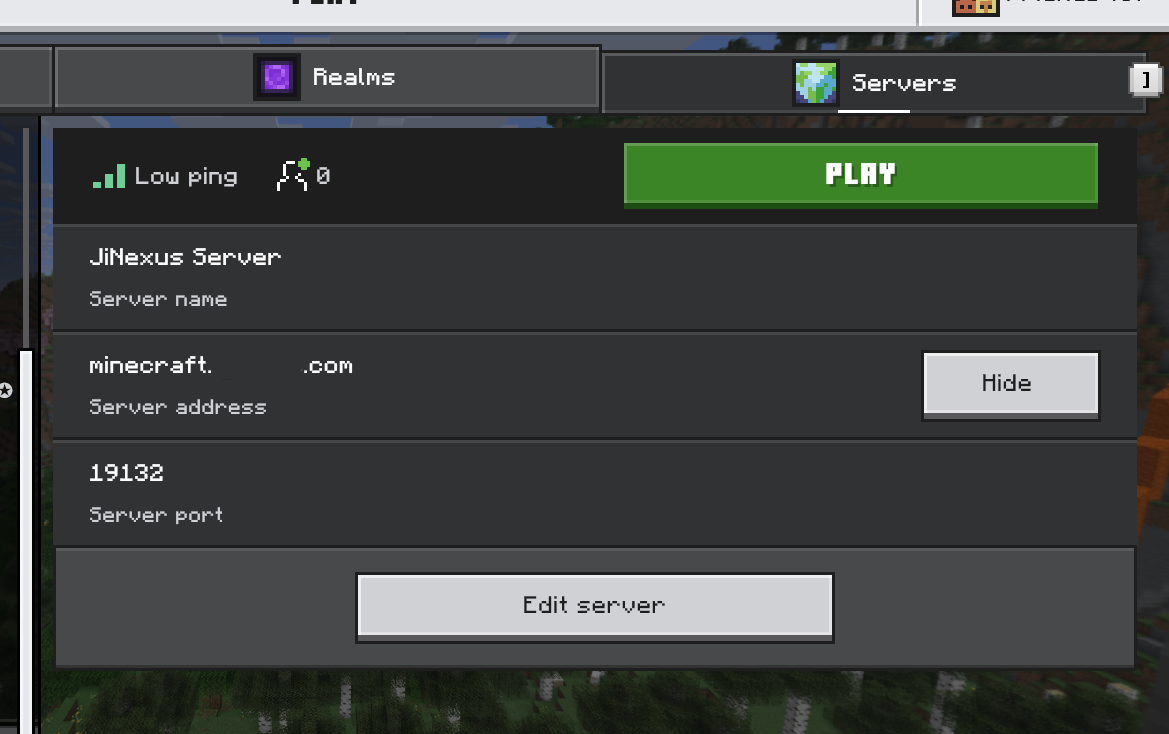
Once DNS resolves, your friends can enter minecraft.example.com as the server address in the Minecraft client — but the port still matters. Bedrock’s default port is 19132, and most clients let you enter it as:
minecraft.example.com:19132If your client doesn’t have a separate port field, just make sure you’re running on the default port so it’s assumed automatically.
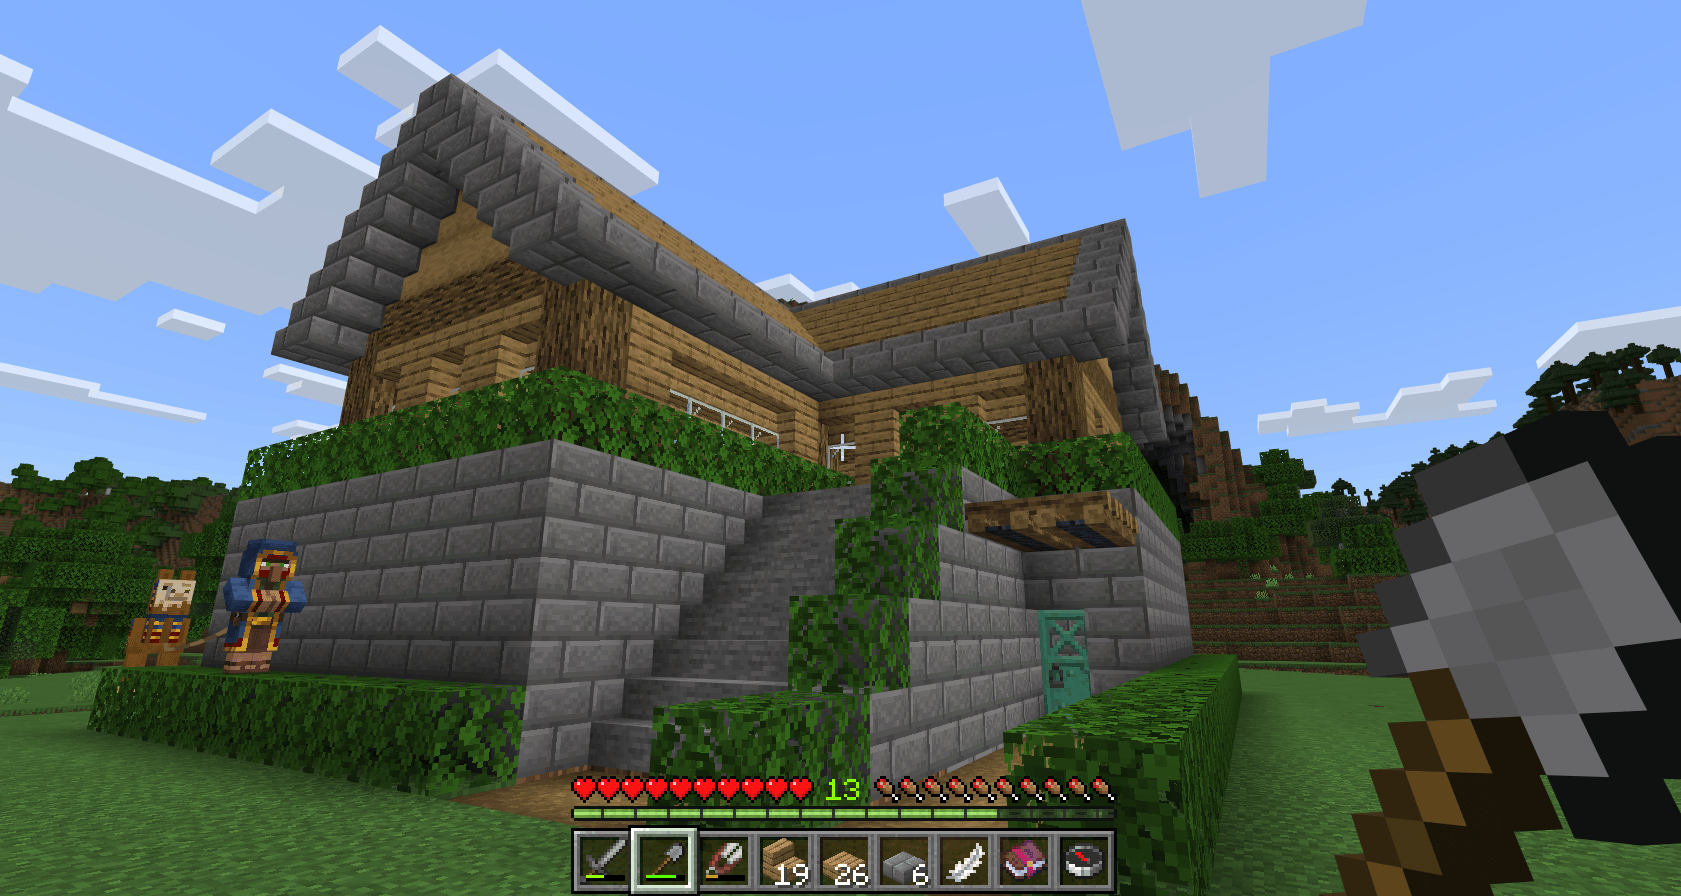
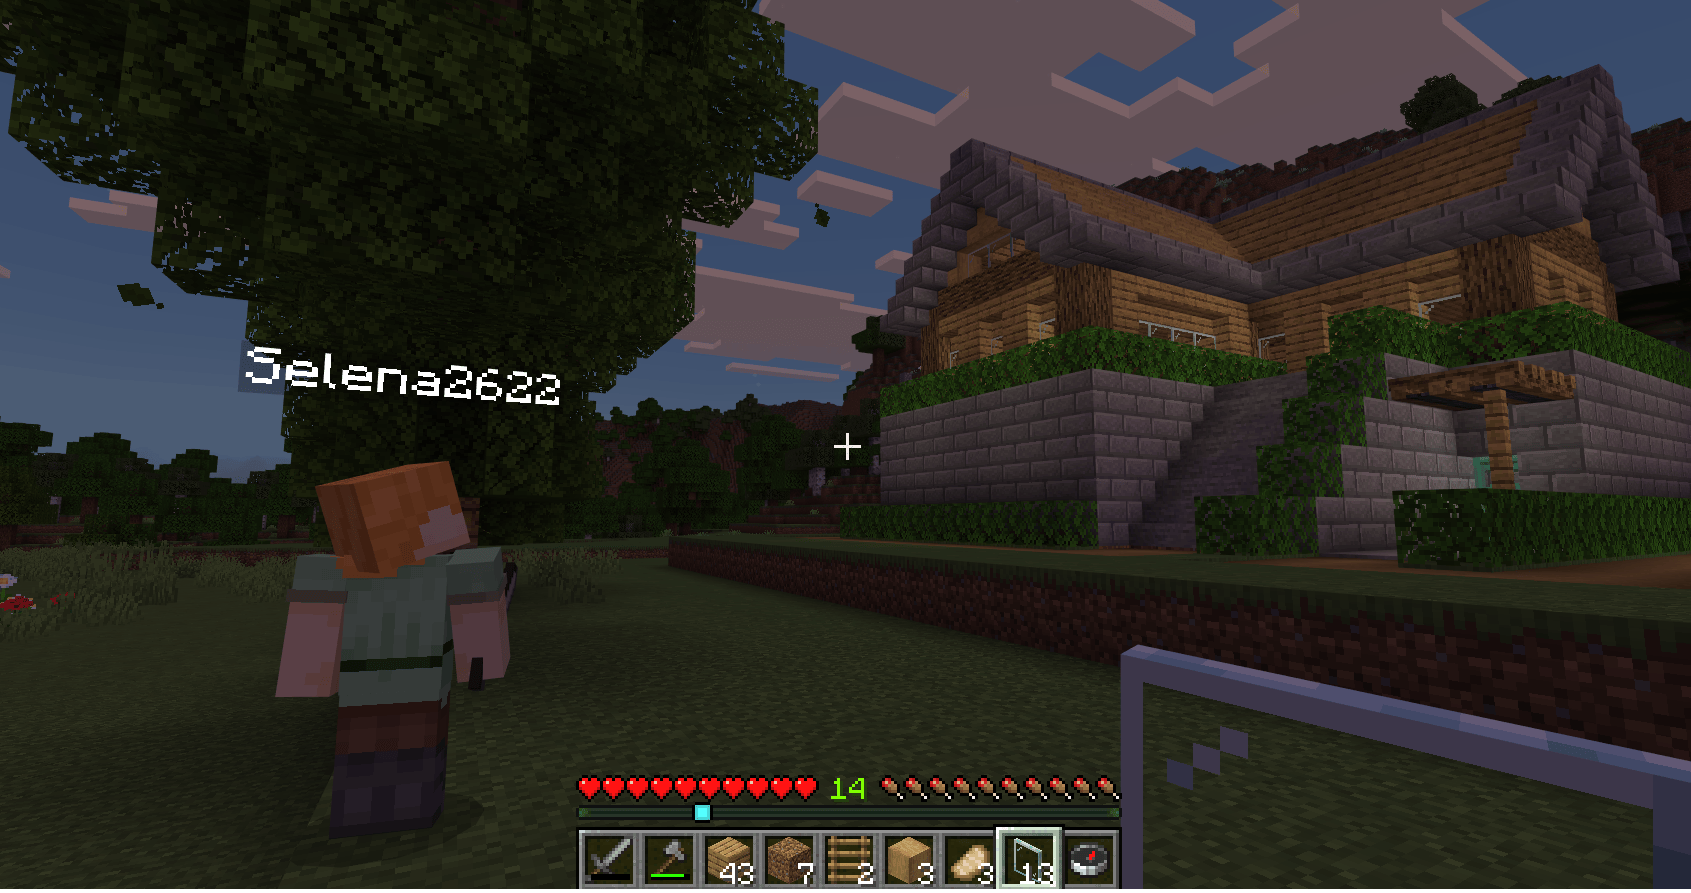
Playtime
Wrapping Up
At this point you’ve got a Minecraft Bedrock server that:
- Starts automatically on boot
- Restarts itself if it crashes
- Backs up your world daily and prunes old backups
- Can be locked down to a private group of friends
- Is reachable through a friendly domain name instead of a raw IP
For a small group playing together, this setup will comfortably run for months without needing to touch it.
